If you’re new to the realm of metal patina, we highly suggest you read the Patina 101 blog before diving into this one.
It is an art to work with Patina. Experimenting takes time, thorough consideration of the materials you’re dealing with, and the persistence to keep testing. It’s a lot like making a new recipe you saw on TV or read about on the internet. The success of your experiment is determined by the quality and quantity of ingredients.
Patina is a naturally occurring phenomenon that we can now achieve by applying chemicals to accelerate metal oxidation. If you’re new to working with patina, keep reading as we take you through the process.
Steps for designing with patina:
1. Select the appropriate base
Check that you’re using the correct base substrate. Patinas mostly deal with metals and, to a lesser extent, wood, but they are primarily used to create an antique finish on metal. Check with the manufacturer to see what base substrates the patina they produce can be applied on. Also, be certain that your metal is exposed and free of oxides, oil and residues. If not, the patina chemical will not react with it. Please keep in mind that patina cannot be applied directly to MDF or other base substrates. They will need to be coated with liquid metal before the patina chemical is applied.
2. Understand your patina colors
Different patinas yield different hues on metal. So choose the appropriate patina colour. Green, rust, black, and brown are the most commonly available patina colours. Later in the blog, we’ll show you how different patinas look on different metals.
3. Patch test with various tools
Once you’ve settled on your patina chemical and metal base, determine how you’re going to apply it. Will you apply it with a roller, a sponge, a paint brush, spray bottle or a spray gun? Each of these tools will influence how your patina develops and hence appears. Our advice is to experiment with different tools on separate areas to see how the patina would look when applied with each of them.
4. Apply the patina
The actual effort begins now, with the application of the patina to the metal base. Layer, layer, layer, but do so gradually and slowly. And, for your own protection, make sure you’re wearing a mask when it’s being applied. Patina’s attractiveness is best accomplished by gradually building the look rather than applying many coats back to back. Because you can see the colour, pattern, and style being formed as you layer up, and this provides for a lot of advantages. As a result, you have a bit more control over the look than usual. It also prevents excessive patina from being deposited, which would corrode the metal.
5. Allow it to cure completely
Once you’ve coated the patina and acquired the appropriate shade and appearance, it’s critical to let it cure for the suggested amount of time. A drying time of 24 to 48 hours is usually preferred since it ensures that the metal base has completely soaked in the patina and therefore accomplished the chemical process. If you don’t have the luxury of time, let it dry for at least 8 hours, which is almost overnight.
6. Apply a protective coat to ensure longevity
After it has set, apply a protective coat. This is crucial because it stops the surface from reacting with the environment, guaranteeing that no more oxidation occurs. There are many different types of top coats available on the market; choose your top coat according to the base you’re working with. To ensure the finest protection for Evolve’s liquid metal, we include the protective coat in our material kit.
Why patina?
Patina is a technique used to create antique-looking metal surfaces with an abstract, non-repeatable pattern. It is a surface treatment method used to create one-of-a-kind textures and surfaces. As a result, it is widely applied in the creation of customised interiors, exteriors, and furniture surfaces.
Different Metal Patinas
1. Rust Patina
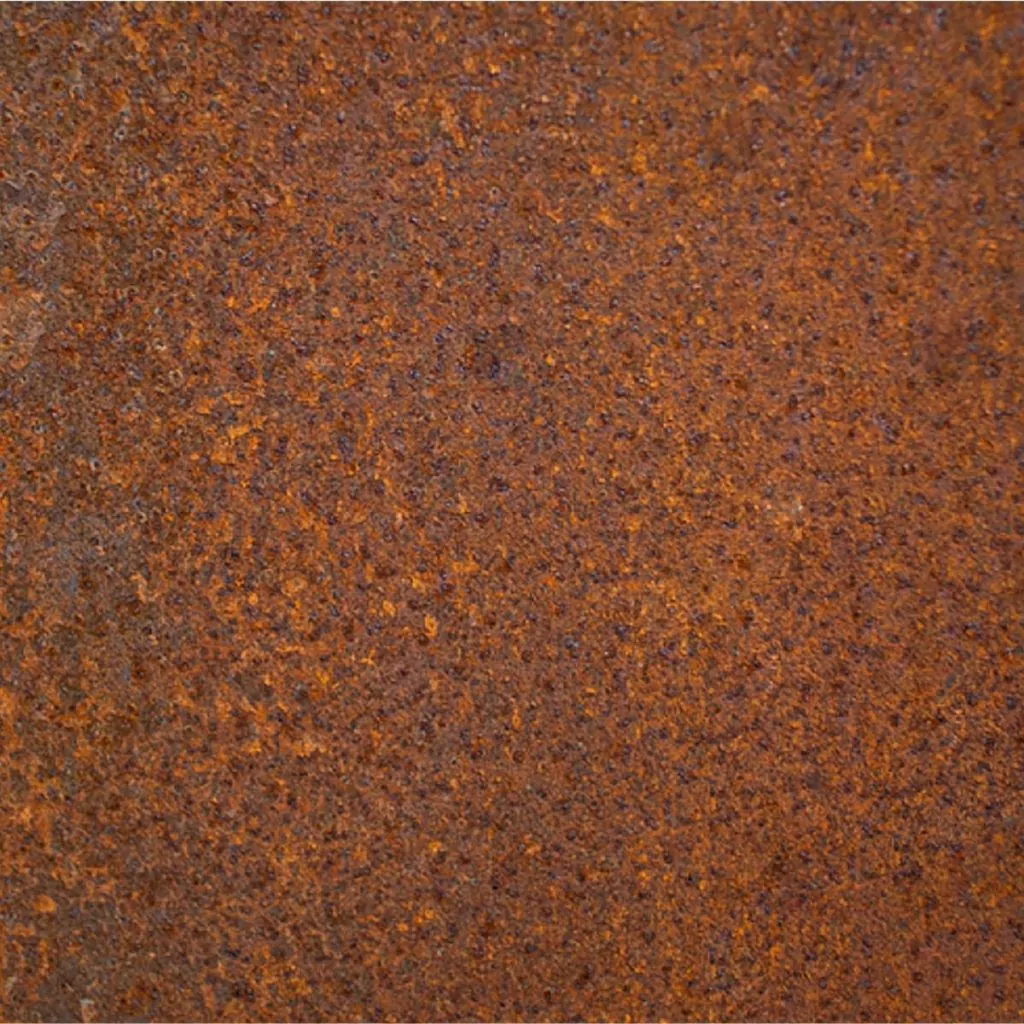
Rust patina is a coating formed due to oxidation of a metal surface. One of the simplest ways to achieve natural rust patina is to leave the bare metal outside in the weather. After a few weeks or months, depending on the moisture and humidity in the air, the metal will begin an oxidation process that will eventually coat the entire surface. This is also why corten steel is so popular in the design world, because its individuality stems from years of patination.
But if time is of the essence, we need to speed things up chemically, which is where the rust patina chemical comes into play. It works best with an iron or mild steel base. On iron and mild steel metal surfaces, the rust patina will provide stunning corten steel colouring and texture.
A key point to remember here is that rust is not the same as tarnish. While rust is typically defined as metal corrosion that results in a brilliant burned orange coloured deposit, tarnish is defined as metal corrosion that results in a dull layer on all metals except stainless steel.
2. Green Patina
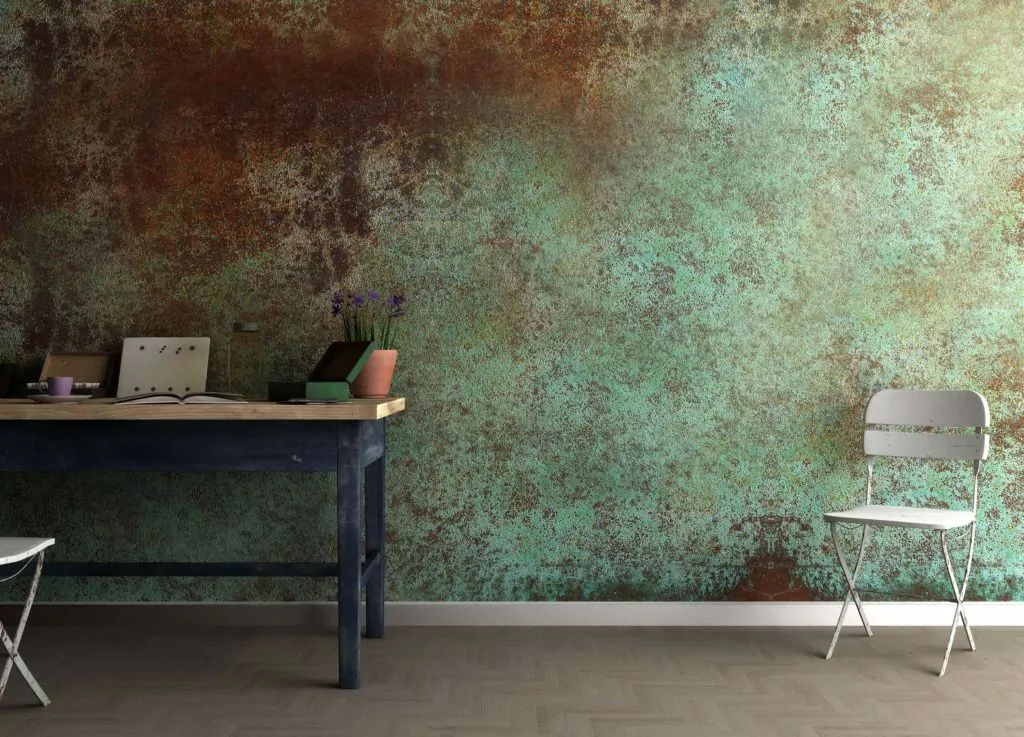
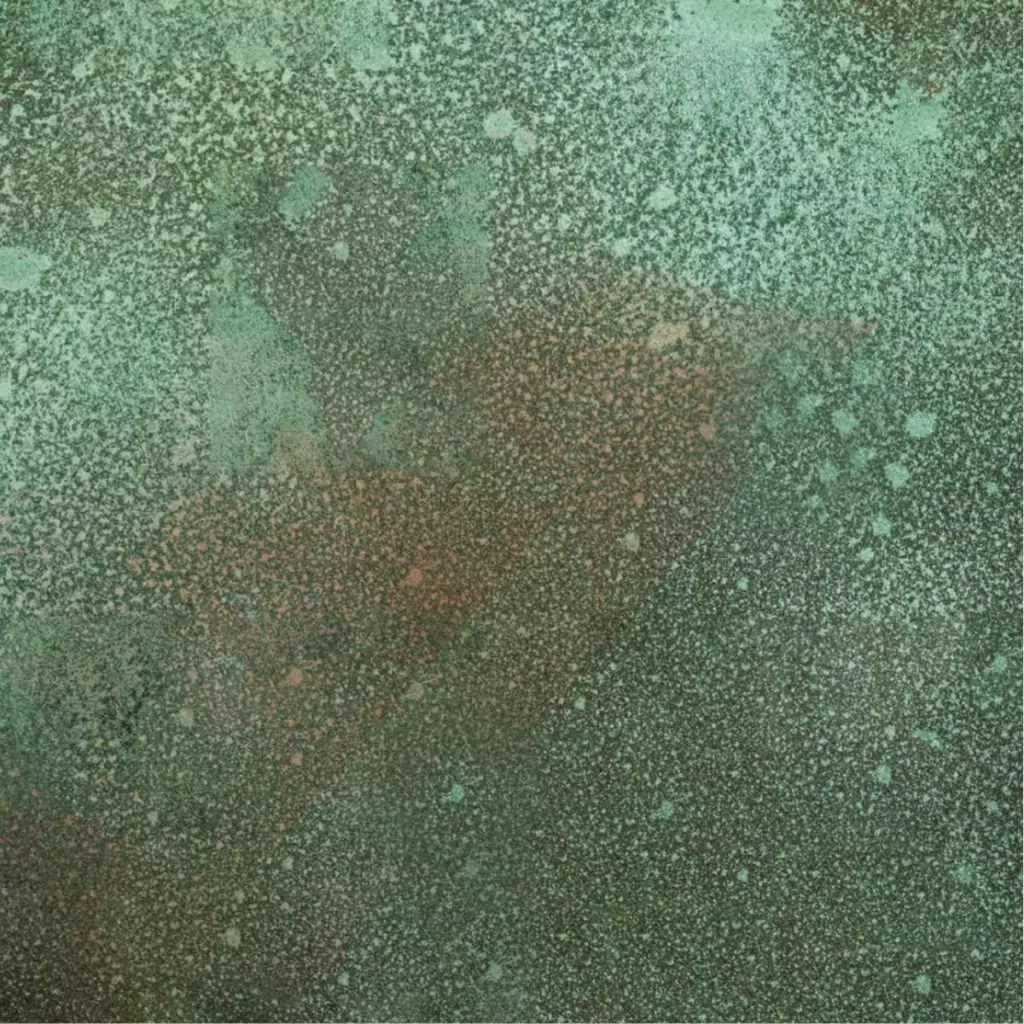
Have you ever looked at the Statue of Liberty and wondered what colour it is? Is it green or blue? Then you have seen the green patina. It is the most well-known and sought-after patina, and is also known as Verdigris. Aside from the statue, the green patina can be found on rooftops in Europe, outdoor sculptures in Australia, and many historic structures in the United States.
The green patina is the product of copper reacting with atmospheric elements and oxidising to a lovely deep green colour over time. The wonderful thing about green patina is that it makes the metal more resistant to future corrosion and therefore making it a good waterproofing material for roofs. In certain ways, it grows stronger and more durable as it oxidises.
Aside from copper, other metals such as brass and bronze turn green over time or when a green patina chemical is applied to them.
3. Black Patina
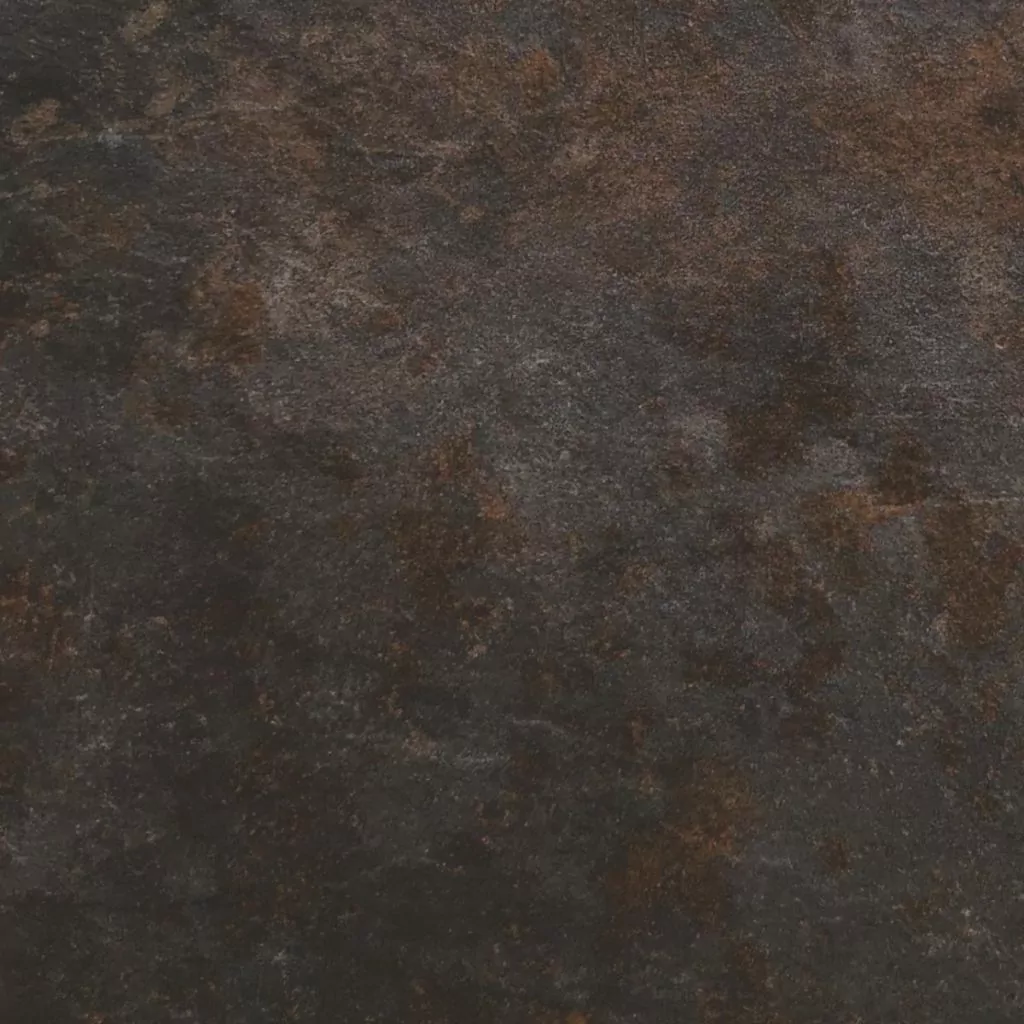
The black patina is commonly used to give metal surfaces a beautiful bluish black appearance. This patina works well on copper, brass, and bronze surfaces and is ineffective on stainless steel alloys.
Each metal surface, however, will develop distinct shades of the blackish patina when the metal reacts with the patina to produce colours that are unique to them. The use of black patina is popular in jewellery, as well as in the manufacturing and upkeep of antique artefacts.
4. Brown Patina
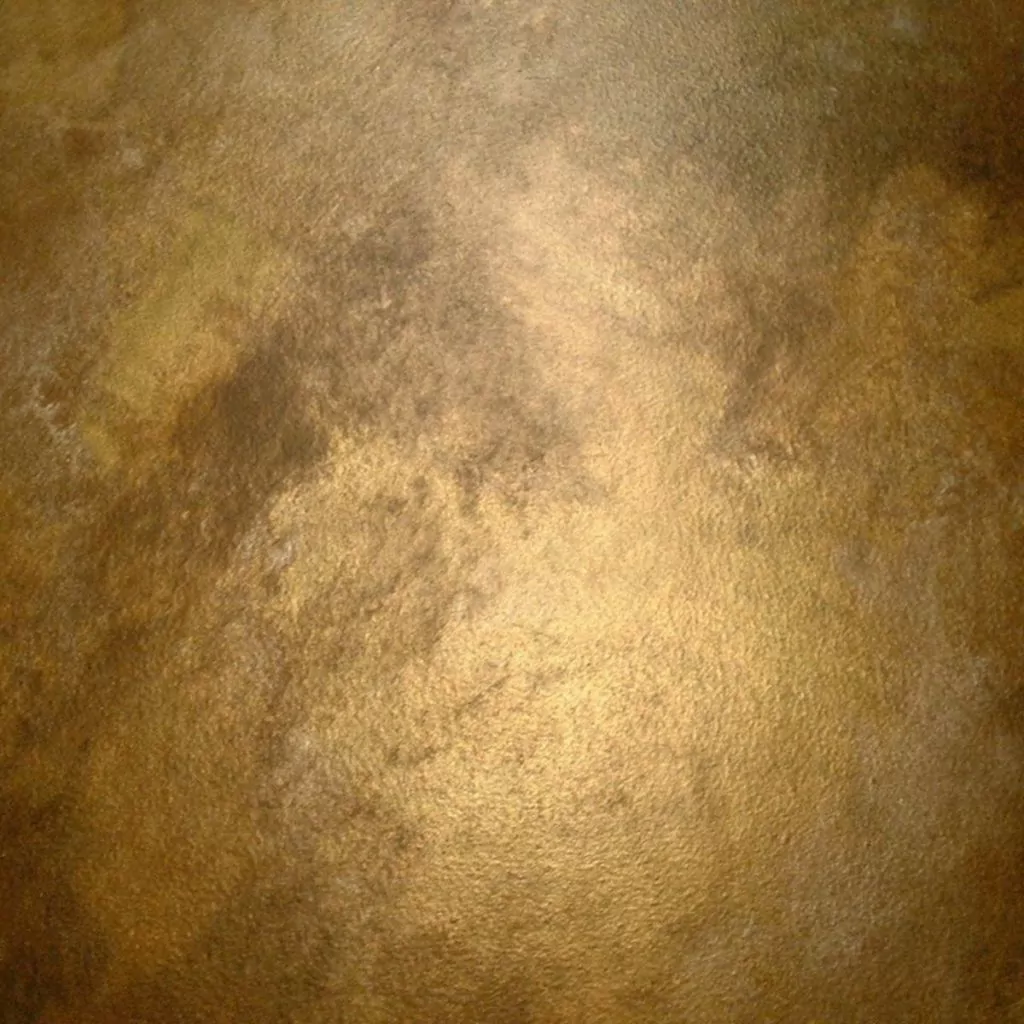
The brown patina is reactive, and the appearance changes depending on how it is applied. A fine light spray, for example, would make an even coat, but dabbing with sponges would create a more mottled and variable appearance.
The brown patina’s appeal resides in its application on brass, as it may age the metal to give it an antique yet modern aesthetic like no other.
Where to shop patina?
Patina chemicals can be purchased through our website store.evolveindia.co. Our patina chemicals are best used in conjunction with our liquid metal kits, but they can also be used straight on metal surfaces.
